When you create a game there is the possibility that you want to provide it on multiple systems like Linux, Windows, MacOS, Android, iPhone (iOS) or web. Specially when your game engine comes with the functionality to export to multiple systems it kind of offers itself to use this feature so your game can be reached by more people. But this can lead to a hell of exporting work, specially when you want to test those exports in between of the development process. Thanks to the magic of CI/CD and docker this problem can be minimized.
Let’s assume we want to export our Godot game to Linux, Windows, MacOS and web and we want to provide all of them on the itch.io page. The full process for that can take about 15 min and since those platforms can differ strongly (like web games still contain problems with game controller input) we are forced to test those functionalities multiple times in our development process, so we can be sure that they work the same as the others. In the first step tests in form of continuous integrations (CI) can help to cover possible problems.
This is where the Docker image godot-ci comes in place, which provides a godot environment where we can run our project in an enclosed system. To use this image in a CI/CD manner we can use most of the git repository sites out there. Like with Github, Gitlab or Gitea (with the drone plugin) you can write a YAML file which contains the test steps. Those steps can then be execute automatically when you push your code changes to origin/master. And to activate this YAML file you only have to place it in your repository root directory.
Let’s start with a Gitlab YAML example. This Example can differ from the other platforms (Github, GItea/Drone) since they use different CI/CD systems. But overall the process is mostly the same. First we describe which Docker image should be used. If we want to use our godot-ci image we can write the following line in the YAML file:
image: barichello/godot-ci:3.2.3For the next step we can describe the stages which we want to use. In Gitlab all jobs in a stage can run simultaneously while the jobs between the stages run consecutively.
image: barichello/godot-ci:3.2.3

stages:
  - export
  - deploy
This will give us the following structure in Gitlab CI. The jobs are not included, since we haven’t described them yet. But in the picture you can see in what order the jobs can run:
Now we need to describe the jobs. Let’s start with a linux build. For that we create the part linux and add the attribute stage: export:
image: barichello/godot-ci:3.2.3

stages:
  - export
  - deploy

linux:
  stage: export
With that the job gets placed in the export stage, which will be run before any jobs in the stage deploy. To keep our YAML file flexible for other projects, we can add an environment value to provide the name of our project in just one line:
image: barichello/godot-ci:3.2.3

stages:
  - export
  - deploy

variables:
  EXPORT_NAME: test-project

linux:
  stage: export
Now we can use this variable for the script part, where we define the commands to export the game for Linux:
image: barichello/godot-ci:3.2.3
stages:
- export
- deploy
variables:
EXPORT_NAME: test-project
linux:
stage: export
script:
- mkdir -v -p build/linux
- cd $EXPORT_NAME
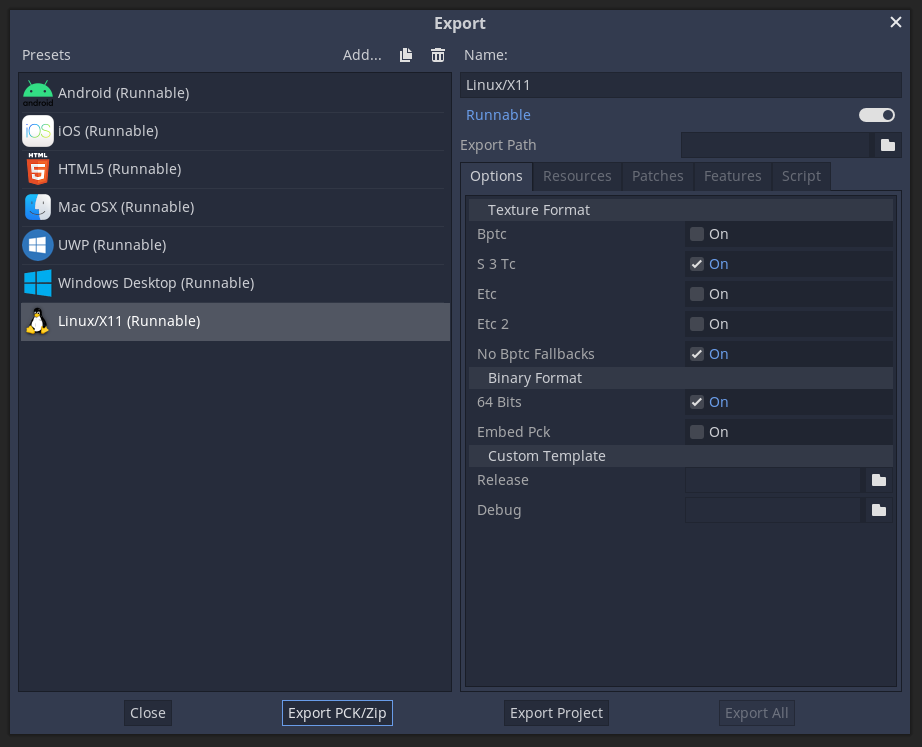
- godot -v --export "Linux/X11" ../build/linux/$EXPORT_NAME.x86_64As you can see on the last line, thanks to the godot-ci image we can directly call the Godot engine which is included in the image. Now there is one Problem: If we run this job it would generate the Linux export but the files are not accessible for us. To get access to the file on Gitlab CI we add the following lines:
image: barichello/godot-ci:3.2.3

stages:
  - export
  - deploy

variables:
  EXPORT_NAME: test-project

linux:
  stage: export
  script:
    - mkdir -v -p build/linux
    - cd $EXPORT_NAME
    - godot -v --export "Linux/X11" ../build/linux/$EXPORT_NAME.x86_64
  artifacts:
    name: $EXPORT_NAME-$CI_JOB_NAME
    paths:
      - build/linux
This will generate a zip file which can be downloaded in the CI view of Gitlab. At this point we can add now all other export jobs:
image: barichello/godot-ci:3.2.3

stages:
  - export
  - deploy

variables:
  EXPORT_NAME: test-project

linux:
  stage: export
  script:
    - mkdir -v -p build/linux
    - cd $EXPORT_NAME
    - godot -v --export "Linux/X11" ../build/linux/$EXPORT_NAME.x86_64
  artifacts:
    name: $EXPORT_NAME-$CI_JOB_NAME
    paths:
      - build/linux

windows:
  stage: export
  script:
    - mkdir -v -p build/windows
    - cd $EXPORT_NAME
    - godot -v --export "Windows Desktop" ../build/windows/$EXPORT_NAME.exe
  artifacts:
    name: $EXPORT_NAME-$CI_JOB_NAME
    paths:
      - build/windows

mac:
  stage: export
  script:
    - mkdir -v -p build/mac
    - cd $EXPORT_NAME
    - godot -v --export "Mac OSX" ../build/mac/$EXPORT_NAME.zip
  artifacts:
    name: $EXPORT_NAME-$CI_JOB_NAME
    paths:
      - build/mac

web:
  stage: export
  script:
    - mkdir -v -p build/web
    - cd $EXPORT_NAME
    - godot -v --export "HTML5" ../build/web/index.html
  artifacts:
    name: $EXPORT_NAME-$CI_JOB_NAME
    paths:
      - build/web
With that our CI/CD jobs will create an export for Linux, Windows, Mac and web every time we push new code to the repository. This is very handy isn’t it? Now if you want, you can also include an Android export thanks to a little contribution of myself and others:
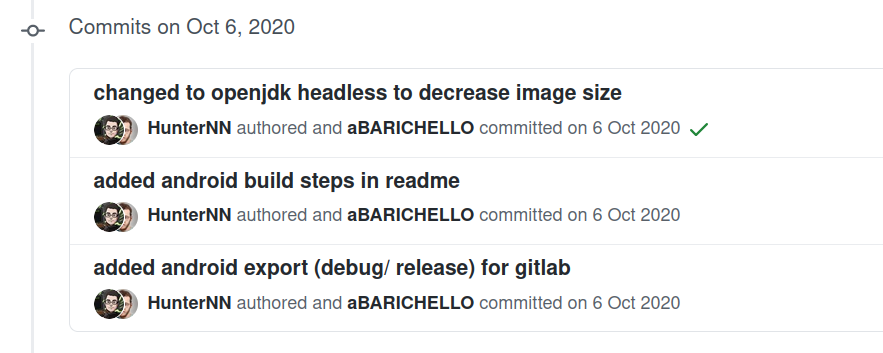
You can find more information how to add Android export on the Github-Page of the image. But one part is still missing: Deployment. We still want to automatically deploy our game on our itch.io page. For that wen can add the following lines in our YAML file:
image: barichello/godot-ci:3.2.3

...

web:
  stage: export
  script:
    - mkdir -v -p build/web
    - cd $EXPORT_NAME
    - godot -v --export "HTML5" ../build/web/index.html
  artifacts:
    name: $EXPORT_NAME-$CI_JOB_NAME
    paths:
      - build/web

# Itch.io Deploy
itchio:linux:
  stage: deploy
  script:
    - butler push ./build/linux $ITCHIO_USERNAME/$ITCHIO_GAME:linux
  dependencies:
    - linux

itchio:windows:
  stage: deploy
  script:
    - butler push ./build/windows $ITCHIO_USERNAME/$ITCHIO_GAME:windows
  dependencies:
    - windows

itchio:macosx:
  stage: deploy
  script:
    - butler push ./build/mac $ITCHIO_USERNAME/$ITCHIO_GAME:mac
  dependencies:
    - mac
For the deploying process on itch.io we use the command line tool butler from itch.io. In this example you have to provide the values for the variables ITCHIO_USERNAME and ITCHIO_GAME which you also can implement like the EXPORT_NAME environment variable before.
With that you implemented a CI/CD system for your game. Every time you push to your repository, the game will be automatically deployed on your itch.io page in just some seconds. And if you want to add test steps for you project you can simply add another stage before the export like this:
...

stages:
  - test
  - export
  - deploy

# just try to run godot and see if there occurs an error
run-test:
  - stage: test
  - script: godot -q

input-test:
  - stage: test
  - script: godot -s res://scripts/my-cool-input-tests.gd